Step 1
Start with opening a new photoshop file. I used A4 size file. I named the layer as blank background.

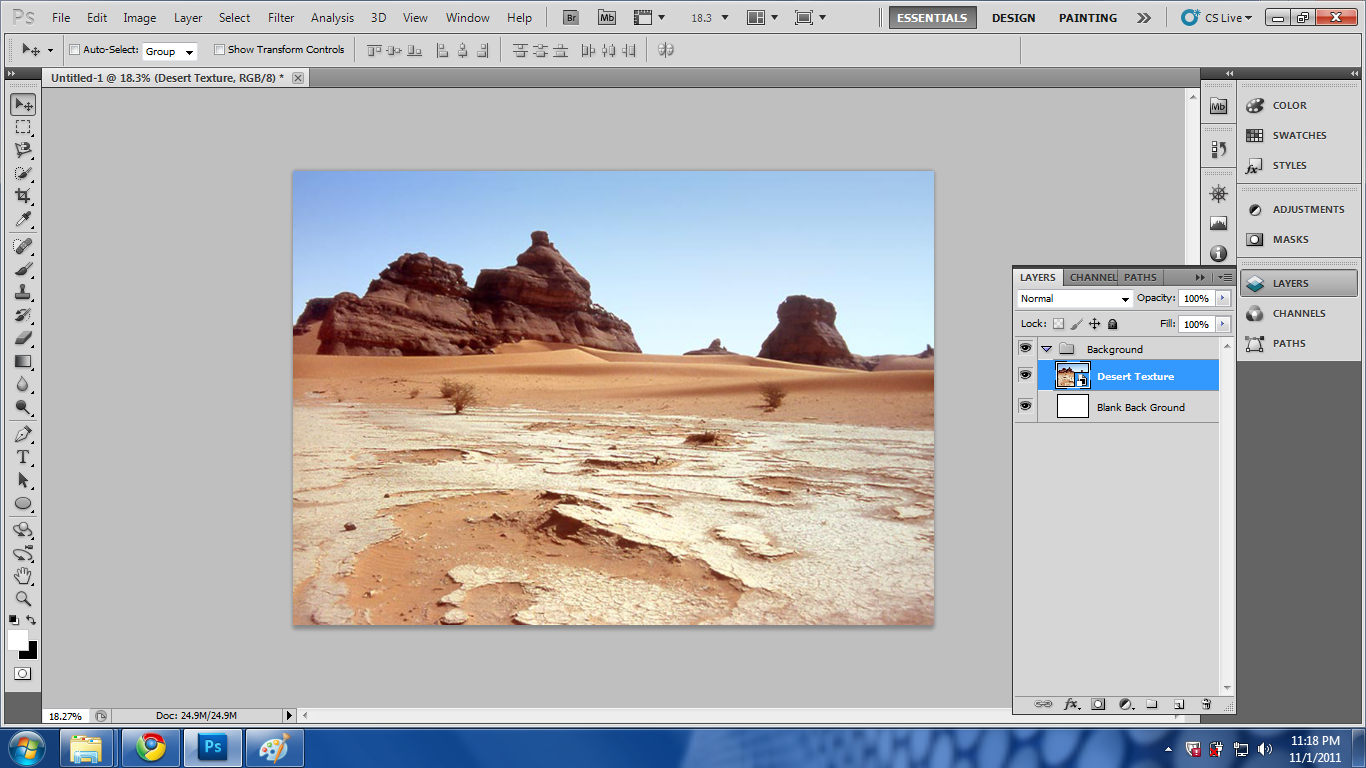
Step 2,
Then I placed a picture as a permanent back ground and named it as desert texture. I am not going to edit this layer. I used a picture of The Grand Canyon. I placed both the blank and desert texture into background folder.
Step 3,
Then I placed a picture of Leaning Tower Of Pisa and named it Pisa Photo Original Photo. Then, duplicate the same layer and named it Pisa Photo For Manipulation. This layer of photo is to retouch it. I hide the original photo.

Step 4
By using the masking technique, I used brush tool to mask the Pisa photo to make it look like the structure is build out of the rocks. After masking, I used blur tool to blur the edges of both the structure and also used the Clone Stamp Tool clone the bottom part of the Pisa tower and also the side part of the palace to give a effect of like it is sculpted out of the rock.
After that, I went to Image – Adjustment – Exposure and reduced the gamma correction and exposure to give a darker effect.
Then, I went to Image – Adjustment – Variation to adjust the colour effect. I gave a brown colour to match the texture background.

Step 5
Then, I placed a statue picture on a new layer to edit it. The statue has a history to do with the Pisa Tower.
I used the masking technique to crop the statue and place it on the rock like it is on the rock naturally. Then, i went to Image – Adjustment – Variation to give the statue a brown colour effect.


Step 6
I added a square shape and added pink filling and reduced the opacity to 67%. Then, I brought in a vector image from prepared Adobe Illustrator month template to add up the dates and days for the month table. Named the month March with Trajan Pro font and 59 font size and gave it a outer glow by using the blending option.
I arranged the table layer into a folder and named it month table.

Step 7
To finalize my work in added a picture of me which I captured during our group photo shoot for our calendar. I placed the picture on the month table.
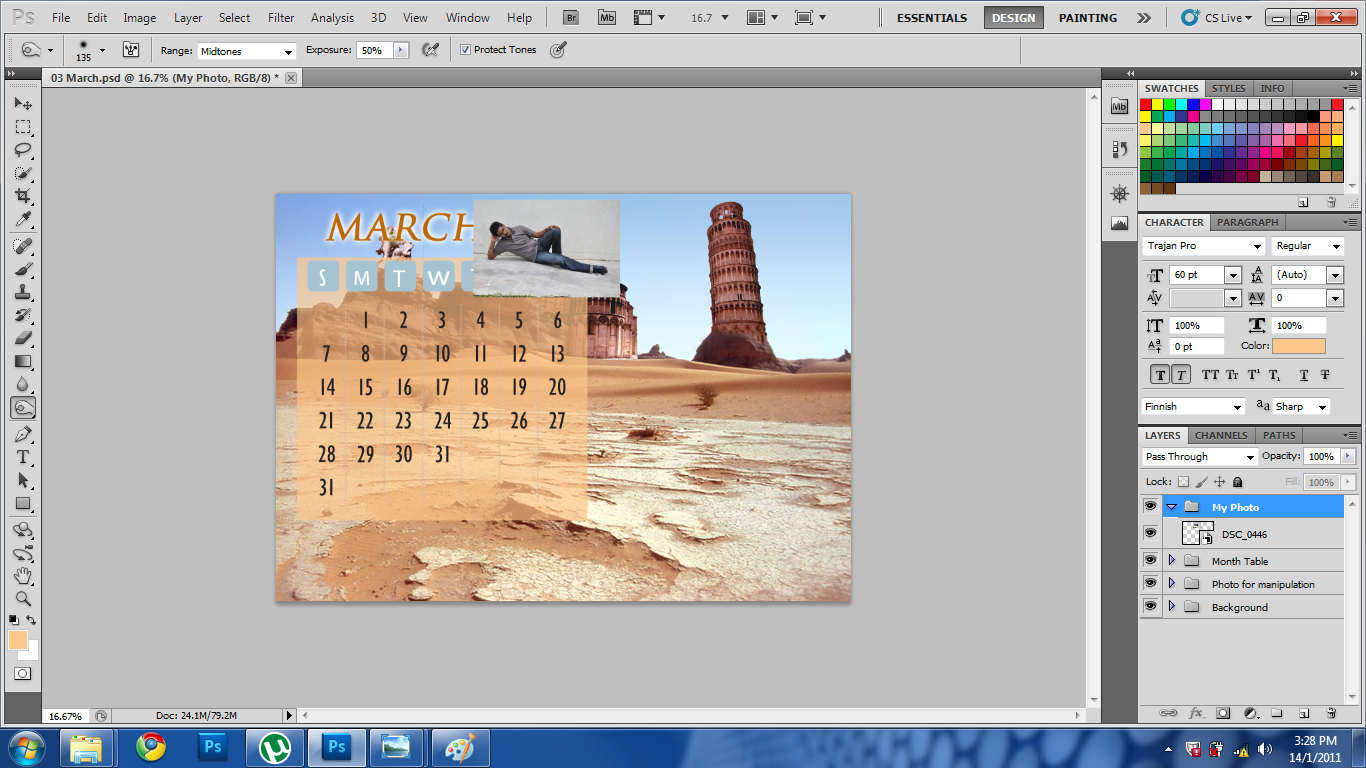
Step 8
By using the Masking, I erased all the access background for my picture making me look like i am resting on the month table.

Final Out Come

No comments:
Post a Comment